Coloring Marshmallows for Easter


Forget eggs! Let’s color marshmallows for Easter instead!
If you remember Easter 2025, you probably remember the egg prices too. Egg prices skyrocketed so much that we decided to get creative, come up with an Easter egg dying alternative and try something different with the kids — coloring marshmallows instead!
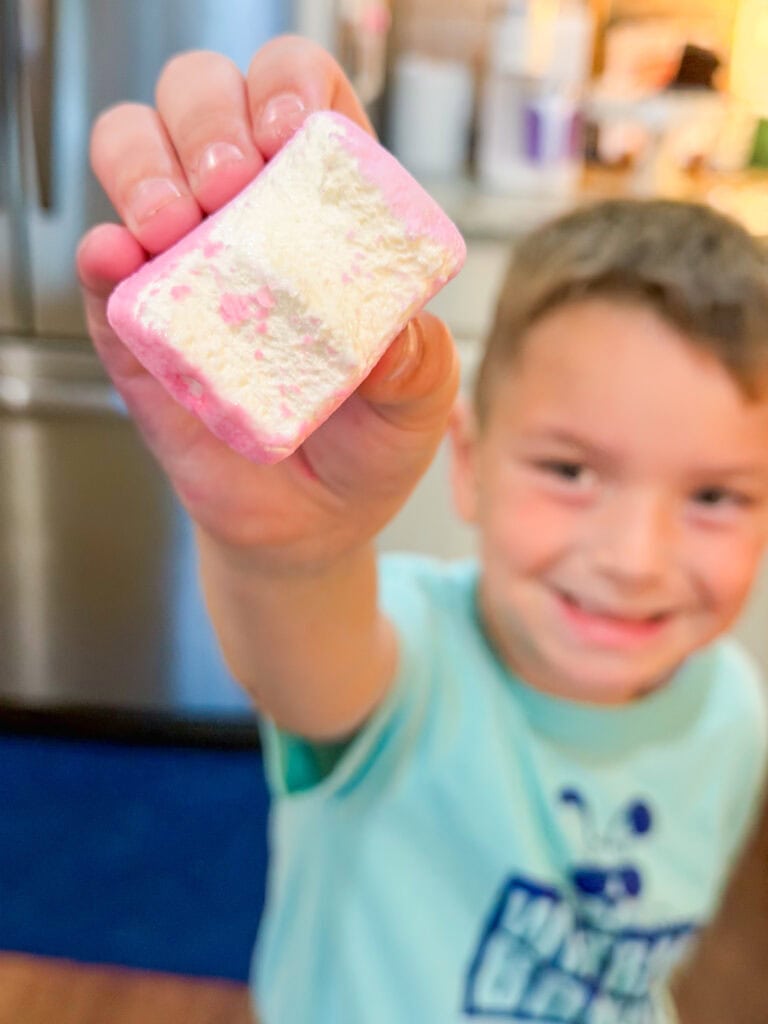
And guess what? It was even more fun than coloring eggs. In fact this fun kid’s Easter activity was so popular it landed my son and I on the local TV show Talk Pittsburgh (watch our segment here) and on the Philadelphia CBS news! (watch that segment here)
This simple Easter activity is easy, inexpensive, mess-friendly, and totally delicious. The kids loved it, the colors turned out beautiful, and they enjoyed eating the marshmallows much more than boiled eggs. Plus, there’s no refrigeration required. A new tradition was born!
If you’re looking for a fun Easter tradition that doubles as a sweet treat, coloring marshmallows might just become your new favorite.
Why Coloring Marshmallows Is So Fun for Easter
There are so many reasons this activity is a win:
- No fragile eggs to crack
- Less prep and cleanup
- It’s so inexpensive to make
- Colors turn out bright and vibrant
- Perfect for younger kids
- Kids love to eat their creations!
Plus, you can use the finished marshmallows for Easter desserts, s’mores, or Rice Krispie treats.

What You Need to Color Marshmallows
This activity only takes a few simple supplies.
Ingredients & Supplies
- Large or extra large marshmallows: We love using the jumbo size!
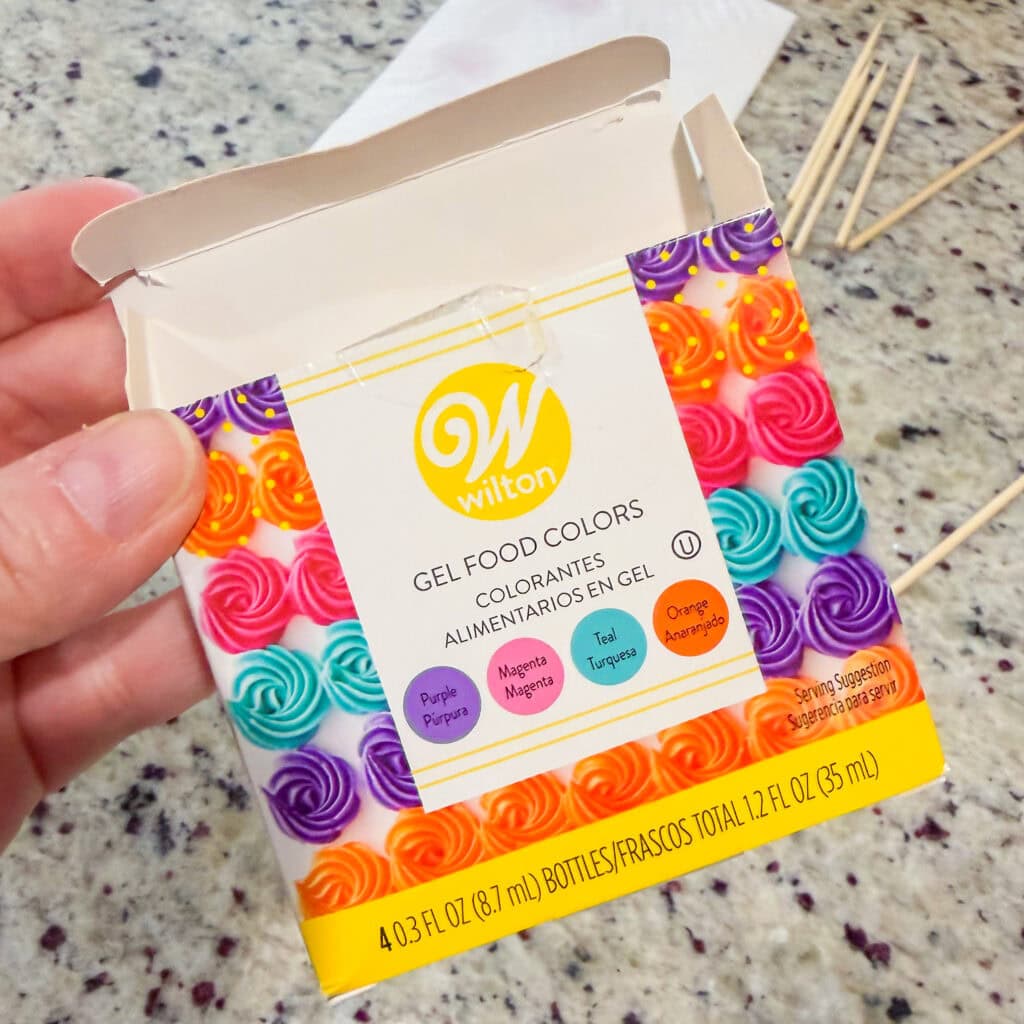
- Liquid food coloring: We found the Wilton brand gives the most vibrant colors. I like these,
- Water
- Cups
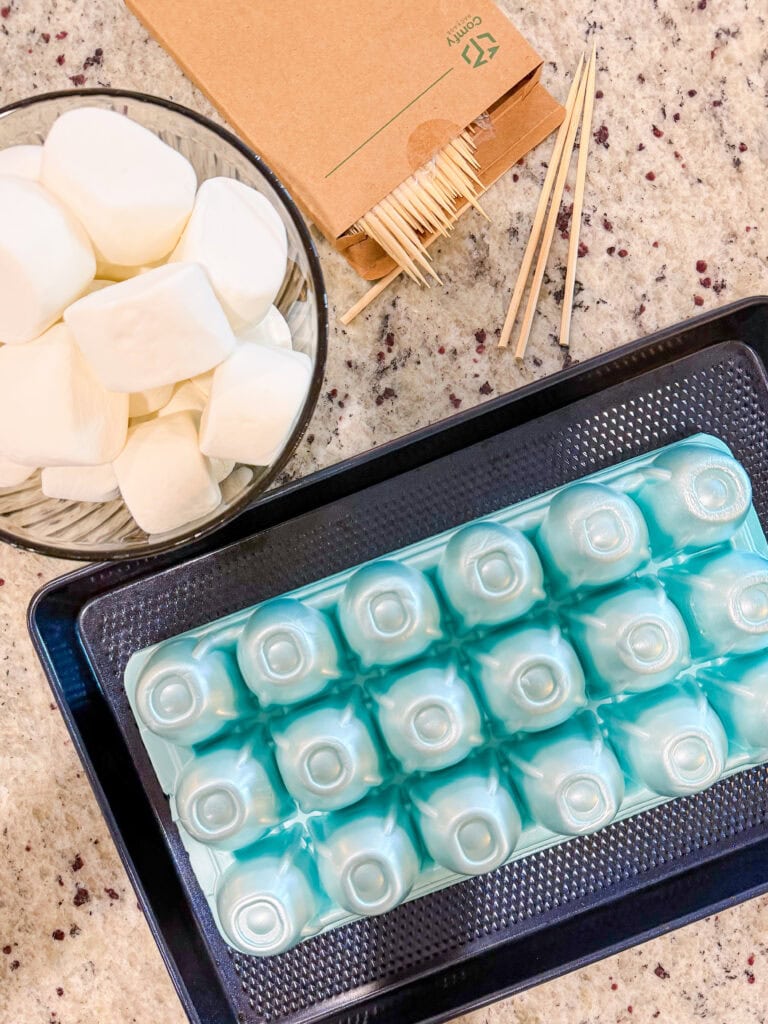
- Small skewers or toothpicks: I prefer small bamboo skewers for kids because they’re easier to hold.
- Styrofoam or something similar to hold the marshmallows while they dry: We use a Styrofoam egg carton!
Optional
- Brand new paintbrushes (never used with paint) to paint the dyed water on the marshmallows, if you’re feeling extra creative.
Important tip:
Plant-based food dyes don’t work well for this activity. The colors tend to be too faint and don’t show up clearly on the marshmallows.
How to Color Marshmallows
This process is incredibly simple and perfect for kids to help with.
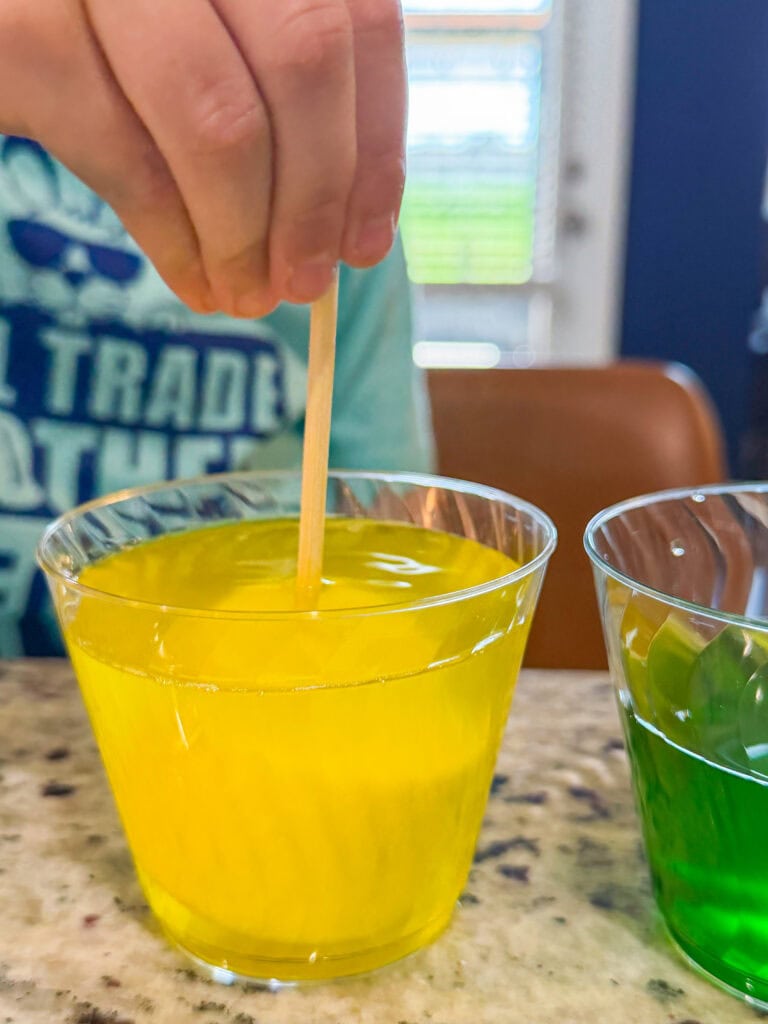
1. Prepare the dye cups
Fill cups halfway with water.
Add several drops of food coloring to each cup and stir well until the color is evenly mixed.
(No vinegar is needed!)
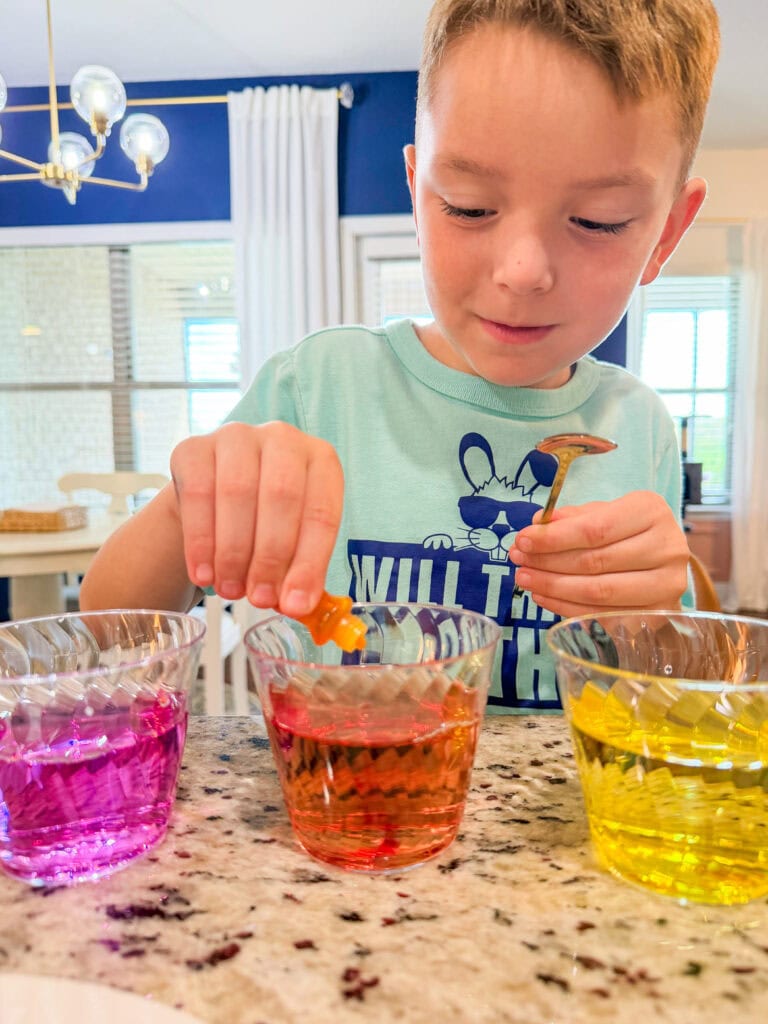
2. Insert skewers into the marshmallows
Place a small skewer or toothpick into each marshmallow.
This makes them easy to dip and keeps little hands clean.
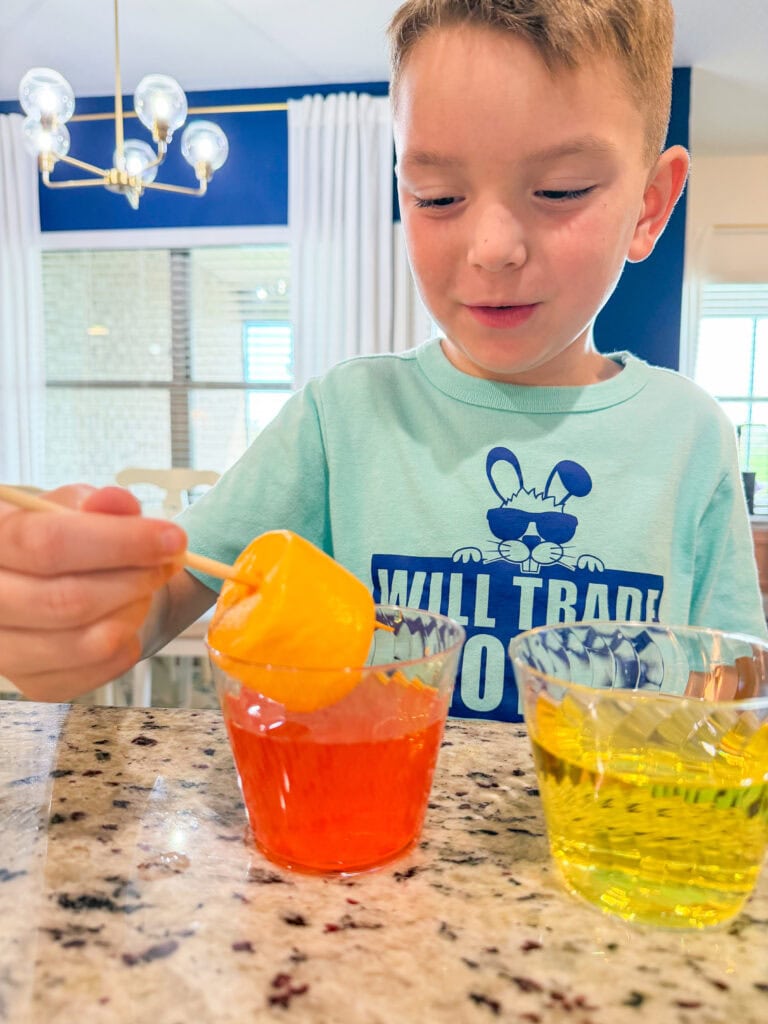
3. Dip the marshmallows
Dip the marshmallow into your chosen color.
The longer you hold it in the dye, the more vibrant the color will become.
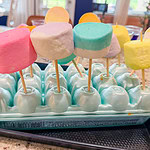
4. Let them dry
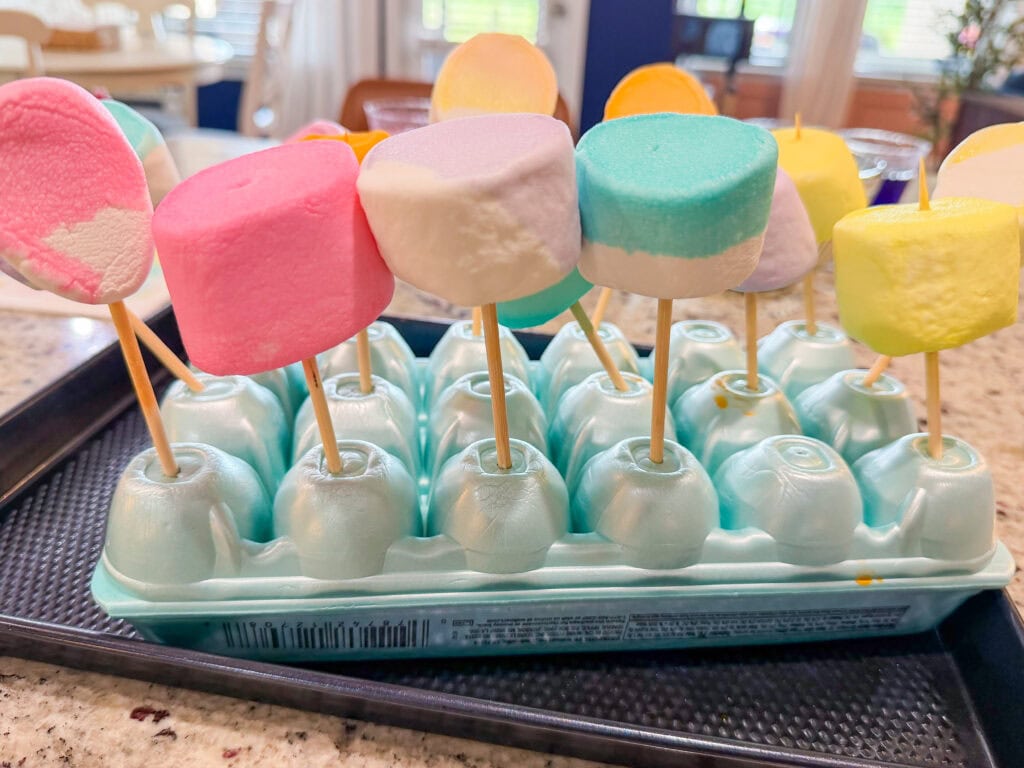
Stick the skewered marshmallows into a piece of styrofoam or an egg carton so they can dry.
Make sure the bottom of the marshmallow does not touch the styrofoam, or it won’t dry properly.
Let them dry for 30–45 minutes.
They’re ready when the outside feels dry and no longer sticky or tacky.
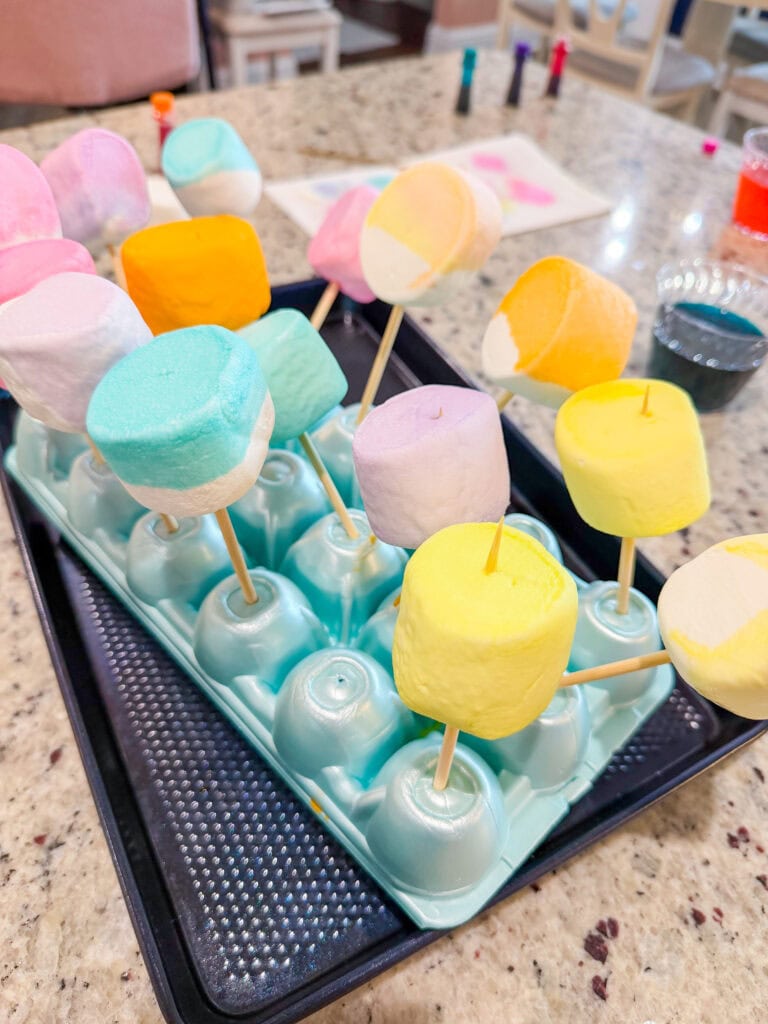
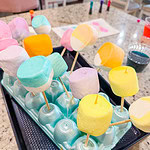
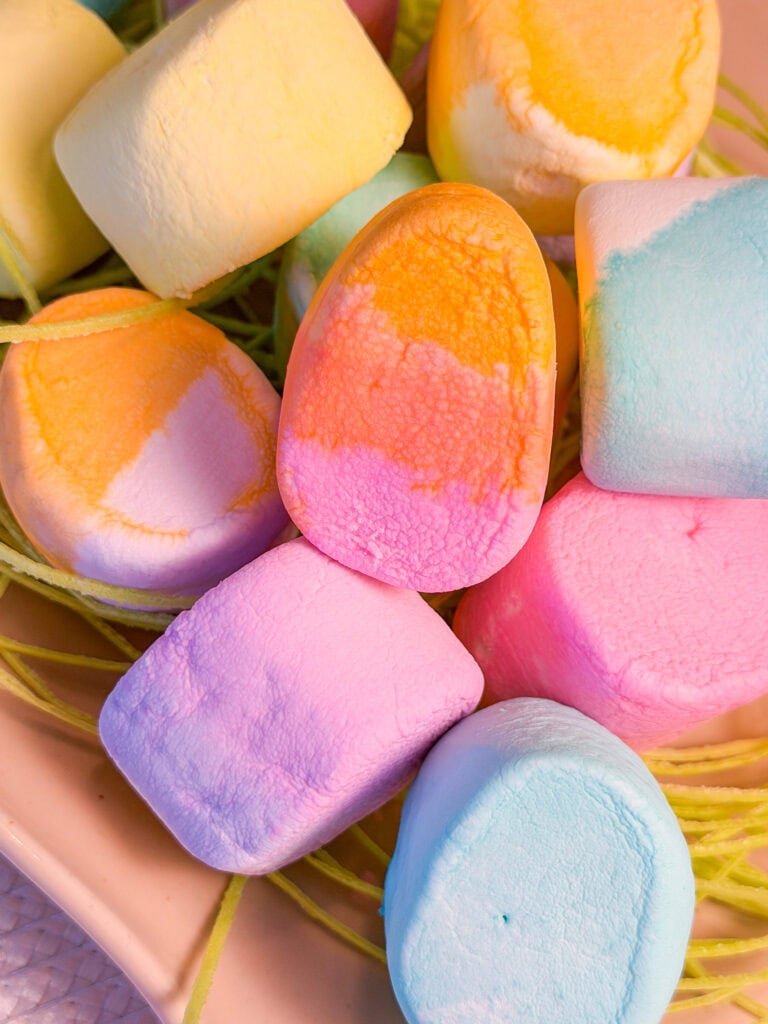
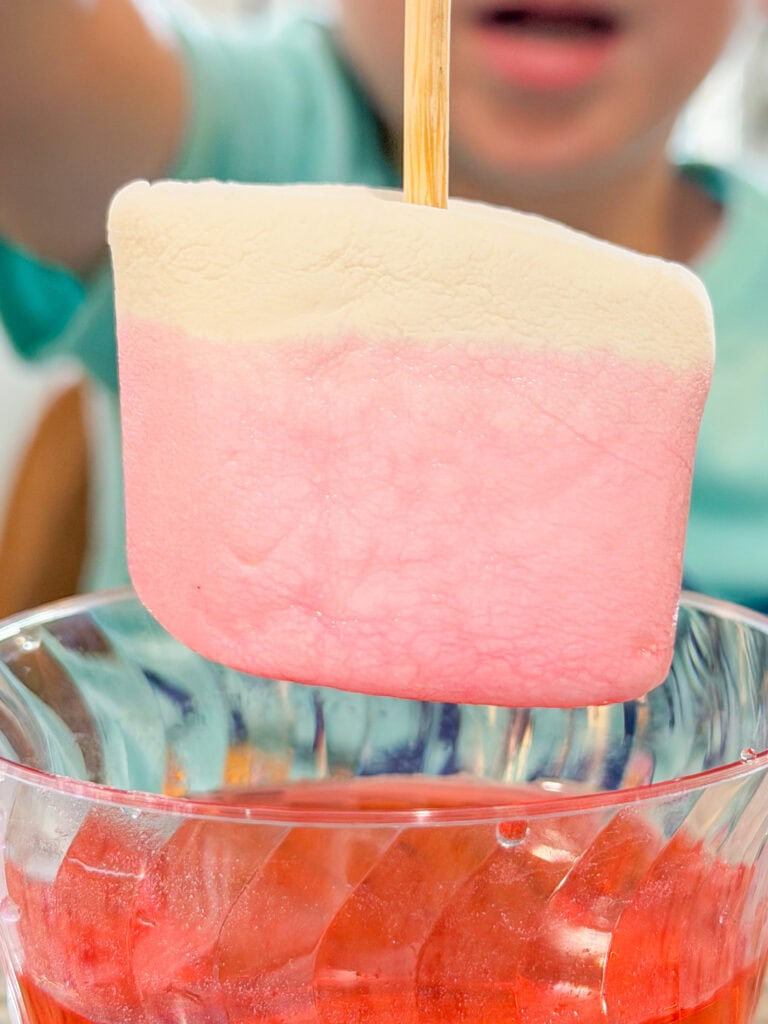
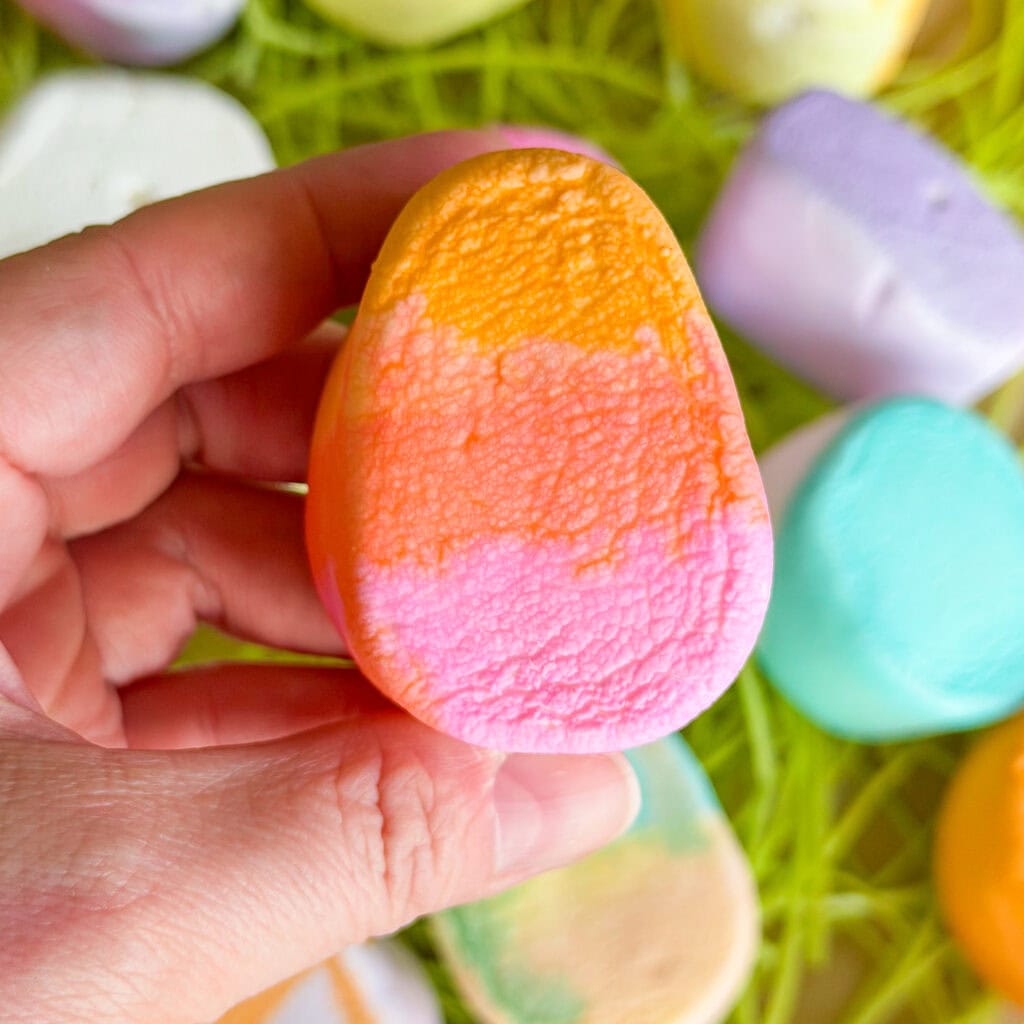
How to Make Multicolored Marshmallows
For a fun two-tone look:
- Dip half of the marshmallow into one color.
- Let it dry completely.
- Dip the other half into a different color.
This creates really cute rainbow or pastel marshmallows that look amazing on an Easter table.
Painting Designs on Marshmallows
You can also use the colored water to paint designs!
Simply dip a brand new paintbrush into the colored water and paint patterns onto the marshmallows.
This is a great way for kids to add:
- dots
- stripes
- swirls
- little Easter designs
Just be sure the paintbrush has never been used with paint before.
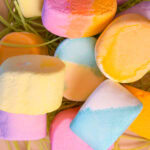
What to Do With Colored Marshmallows
The best part is you can actually eat them!
Try using them for:
- Easter s’mores
- Rice Krispie treats
- Hot chocolate toppers
- Easter dessert trays
- Cupcake toppers
- Snack boards
Or just enjoy them as a colorful Easter treat.
Tips for the Best Results
Use jumbo marshmallows
They’re easier for kids to dip and hold.
Use liquid food coloring
Gel colors don’t mix as easily with water. Wilton has liquid gel dyes- these are the best!
Choose vibrant dyes
Wilton liquid food coloring gave us the brightest colors. We found we needed to add a lot more dye to the green cup- the green didn’t show up as well. Blue, magenta, orange, purple and yellow made the most vibrant colors in the shortest soak time.
Allow enough drying time
This prevents sticky marshmallows. Allow at least 30 minutes to fully dry. The marshmallows should not be tacky to the touch.
A New Easter Tradition
What started as a fun experiment during the great egg price shock of Easter 2025 turned into a brand-new family tradition.
Coloring marshmallows is easier than dyeing eggs, more kid-friendly, and best of all — you get to eat the results.
And honestly… we may never go back to eggs!

Try This Fun Easter Activity!
If you try coloring marshmallows this Easter, I’d love to see your creations!
Tag me on Facebook or Instagram so I can share them.
And if you’re looking for more easy Easter ideas, check out these reader favorites:
- Easter brunch recipes
- Easy holiday desserts
- Kid-friendly holiday activities
Happy Easter! 🐣✨
This post contains affiliate links
Sign up for our free newsletter to get new recipes sent right to your inbox!
Looking for more Easter Treats?
How to Color Marshmallows for Easter (Easy Kids Activity)
Equipment
- Water
- Styrofoam or something similar to hold the marshmallows while they dry-We use a styrofoam egg carton!
- Optional: Brand new paintbrushes (never used with paint)
Instructions
- Prepare the dye cups: Fill cups halfway with water.
- Add several drops of food coloring to each cup and stir well until the color is evenly mixed. (No vinegar is needed!)
- Place a small skewer or toothpick into each marshmallow. This makes them easy to dip and keeps little hands clean.
- Dip the marshmallow into your chosen color.
- The longer you hold it in the dye, the more vibrant the color will become.
- Let them dry: Stick the skewered marshmallows into a piece of styrofoam or an egg carton so they can dry.
- Make sure the bottom of the marshmallow does not touch the styrofoam, or it won’t dry properly.
- Let them dry for 30–45 minutes. They’re ready when the outside feels dry and no longer sticky or tacky.